
Hello,
Today I am going to be sharing a snowman nail art tutorial with you. I have posted another festive nail art post (here) already and I will be sharing more festive nail ideas with you very soon. This was the design I did on my nails last year for Christmas.

- Rio Professional Nail Art pen & brush (RED, WHITE, BLACK & YELLOW) -
- No 7 Stay Perfect Nail Colour in Star Shower -
- Tanya Burr Nail Polish in Riding Hood -

Step 1:
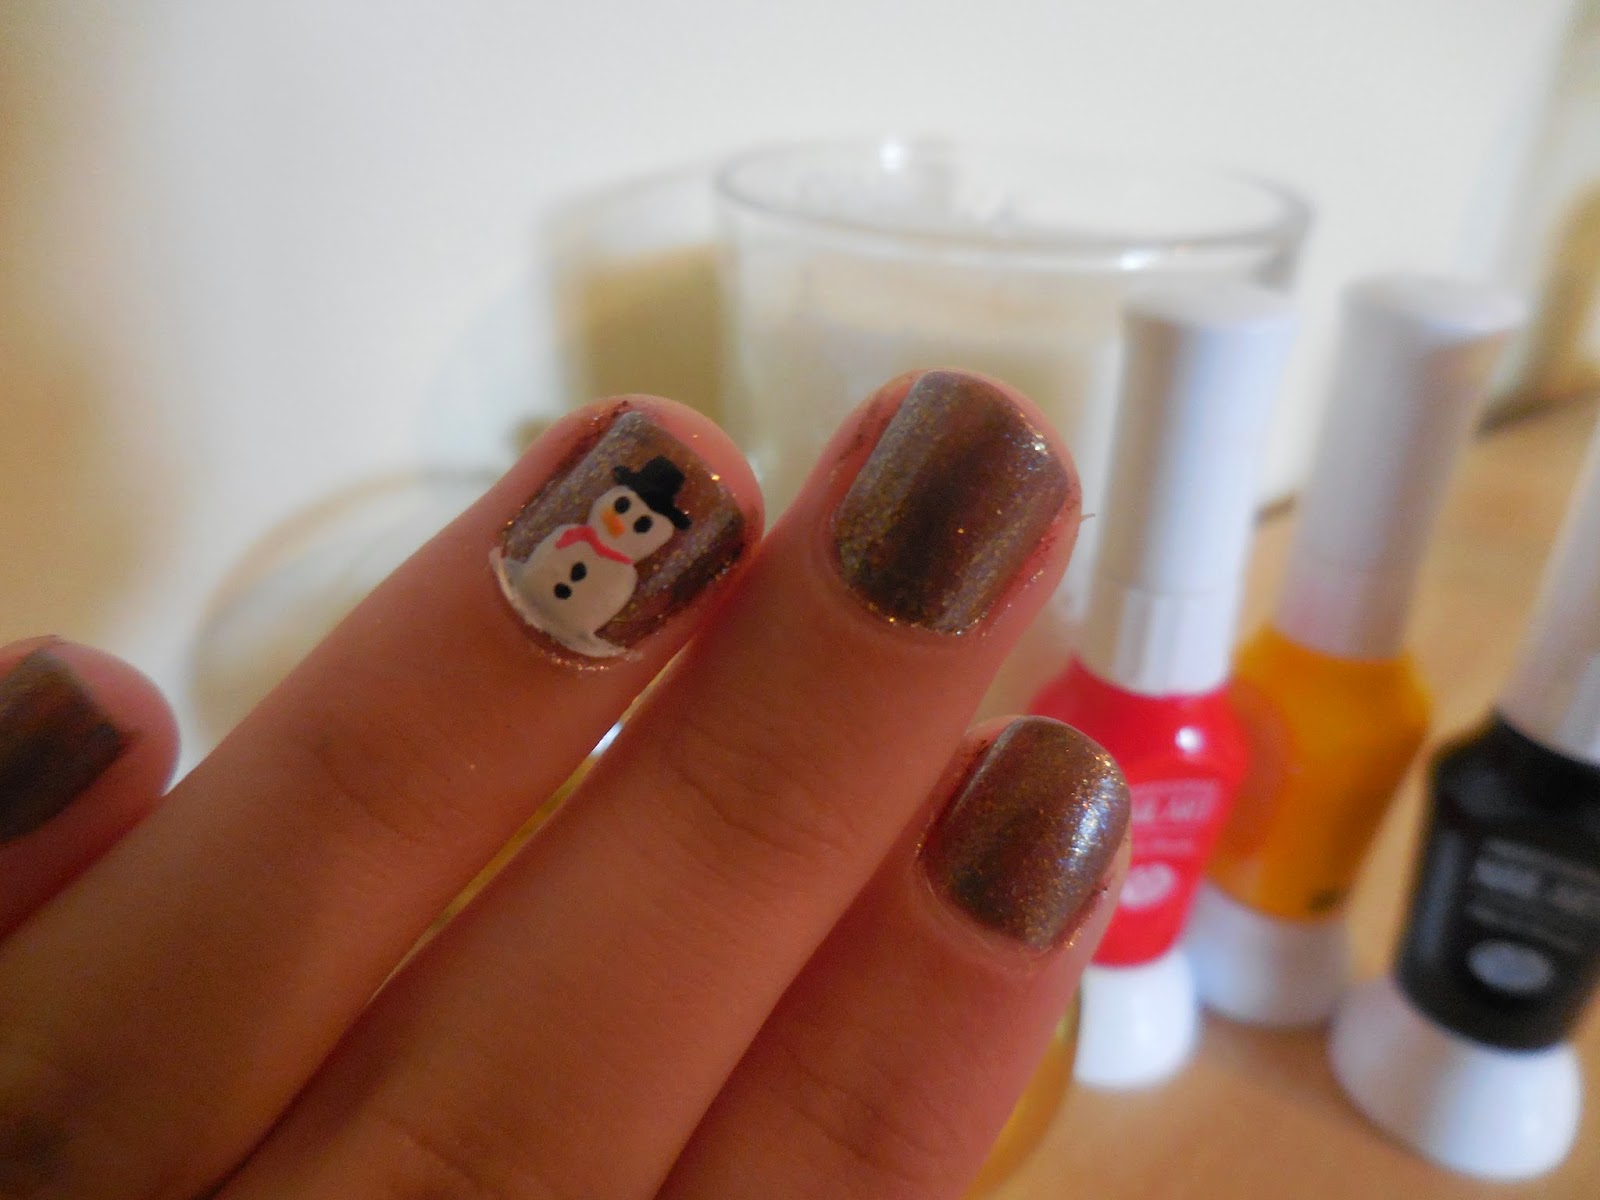
First you need to paint your nails in your chosen background colour. For this tutorial I have chosen the No 7 nail polish in Star shower. This nail polish is grey with Gold and Blue glitters - the photo does not show off how beautiful this colour really is. It is perfect for the festive season, it just screams Christmas from the name to the colour.
Alternatively you could use any other nail colour that white and black will show up well on and as this is a Christmas tutorial possibly a festive colour. I suggest Tanya Burr's Riding Hood nail polish - I have used a red polish in the past and it works really well for this nail look.

Step 2:
When dried you need to apply a white nail polish for the snowman's head, body and the snowy ground. You could do this on every nail or just one like I have. For this you colour use either a nail art pen or apply white nail polish with a cocktail stick, bobby pin/ hair grip or the brush provided (depending on the size). Do bare in mind that a large blob of nail polish will take a long time to dry, so try a use the smallest amount of nail polish as possible.
Step 3, 4 &5:
Now it is time to add the detail. It is very important that the nail polish is completely dry to avoid the colours running.
First I used a black nail polish/ nail art pen to create eyes, buttons and a hat on the snowman, try and keep the dots the same size. When creating the buttons leave room for a scarf. To make the hat I drew a small line slightly longer than the head and added a square on top.
To make the scarf I drew a line between the head and body and another small line coming off of that. I chose to do this is red but this is up to you, maybe chose a colour that wont clash with the background colour.
And last but not least we need to add a carrot nose on our snowman. You could use a Orange nail polish. However I don't have an orange colour so I mixed a small amount of red and yellow nail polish on to a piece of paper and applied that to the nail. This works best if you use a thin brush, bobby pin/ hair grip or cocktail stick.
And there we have it, a festive snowman nail design... Thankyou for reading, I hope you are enjoying my Christmas blog posts. Stay tuned for more #countdownforchristmas blog posts. I'm still looking for more Christmas/Winter Q&A questions so please feel free to leave them below or on my Instagram. Goodbye.
Megan♡
No comments:
Post a Comment